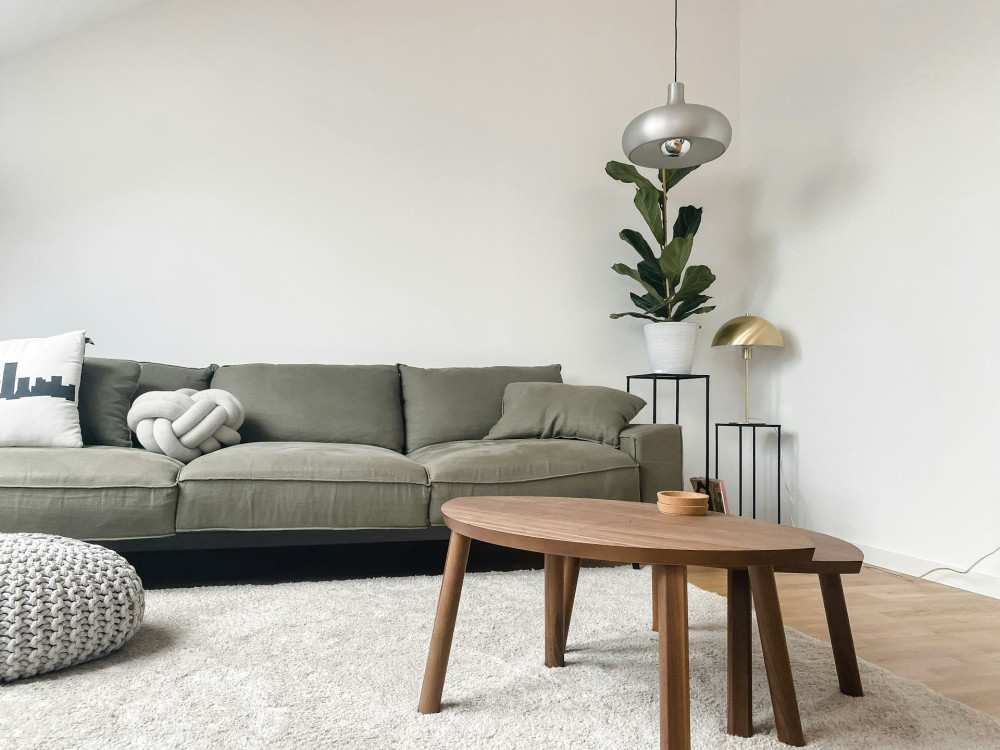
How to Take Photos That Make Your Home Look Bright and Inviting


How to Take Photos That Make Your Home Look Bright and Inviting
Whether you’re preparing to sell, rent, or simply show off your home, great photos make all the difference. They’re the first thing potential buyers or renters see—and they can determine whether someone wants to learn more or scroll past. Bright, welcoming images make a home feel larger, cleaner, and more comfortable. The good news? You don’t need professional gear to get professional-looking results. With a bit of planning and attention to detail, you can capture your home at its best.
Start with Light and Order
Before you even pick up your camera or phone, take time to prepare the space. Clutter and poor lighting can make even a beautiful room look dull or cramped.
- Declutter and depersonalize. Less is more. Remove coats, cords, dishes, and personal photos so the space feels open and neutral.
- Clean and air out the room. Fresh, tidy spaces with clean surfaces and natural light always photograph better.
- Open curtains and turn on lights. Combine daylight with artificial light to eliminate dark corners and create a warm, even glow.
The best time to shoot is usually midday, when natural light is bright but not harsh. Avoid direct sunlight streaming through windows—it can create strong shadows and overexposed spots.
Use Light to Your Advantage
Light is the key to great home photography. It’s not just about how much light you have, but also where it comes from and what color it is.
- Make the most of natural light. Stand with your back to the window so the light fills the room evenly. This creates a soft, natural look.
- Avoid mixed lighting. If you use lamps, choose bulbs with the same color temperature to prevent yellow or blue tints.
- Pick the right time of day. Morning and late afternoon light tends to be softer and more flattering than the harsh midday sun.
If you’re photographing a room with large windows, make sure the outside view isn’t too bright compared to the interior. You can take several shots at different exposures and choose the one that looks most balanced.
Choose the Right Angles
Perspective matters. Most real estate photographers shoot at eye level or slightly lower to create a calm, natural look.
- Shoot from the corners. This helps show depth and gives a better sense of the room’s size.
- Keep lines straight. Tilted walls or doorframes can make a space look distorted. Use a tripod or steady surface to keep your camera level.
- Show how rooms connect. A photo that hints at the next room gives viewers a sense of flow and spaciousness.
Take multiple shots from different angles and pick the ones that best capture the room’s proportions and atmosphere.
Læs også:




Pay Attention to Composition
Small adjustments in composition can make a big difference. Try using the “rule of thirds”: imagine your frame divided into nine equal sections, and place key elements along those lines or at their intersections.
- Create balance. Avoid having too many objects on one side of the frame.
- Highlight the room’s purpose. A dining table with a simple centerpiece or a cozy throw on the couch adds life without feeling staged.
- Remove distractions. Hide cords, remotes, and clutter that draw attention away from the space itself.
A well-composed photo should invite viewers to imagine themselves living there.
Edit Thoughtfully
Editing can enhance your photos, but subtlety is key. The goal is to represent your home accurately—not to mislead.
- Adjust brightness and contrast. A touch of extra light can make a big difference, but avoid washing out white areas.
- Straighten lines. Many free editing tools can automatically correct tilted perspectives.
- Keep colors natural. Avoid oversaturating—your home should look warm and realistic, not cartoonish.
Compare your edited photo to the real space. If it looks dramatically different, dial it back.
Create a Cohesive Set
Once you’ve photographed every room, review your images as a complete series. Together, they should tell the story of your home—from the entryway to the living room, kitchen, and bedrooms.
- Maintain a consistent style. Similar lighting, tones, and angles make your photos look professional.
- Select only the best shots. A few great photos are more effective than a large number of average ones.
- Include a few detail shots. A close-up of a sunny window ledge, a vase of flowers, or a cozy reading nook adds warmth and personality.
When your photos feel connected, potential buyers or renters can easily imagine what it’s like to live in your home.
Light, Simplicity, and Authenticity
Taking great home photos isn’t about expensive equipment—it’s about seeing your space with fresh eyes. Focus on light, order, and simple composition. When you capture your home as it feels on its best day—bright, spacious, and inviting—you’ll create images that make people want to step right in.
Læs også: